Many get bewildered when they hear the term stamping nail art. However, it is actually a very simple thing. It is a technique by which different types of designs are stamped on the nail with different types of accessories. It comes as a kit or a set with various stamping devices and different colors of nail polish. The process is very simple and can be done without any professional help. Even children can paint their nails without any proficiency.


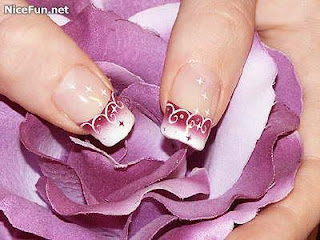
A stamping nail kit comes with discs with variety of designs in different color. At the beginning you apply a base color on the nail and allow it to dry. Then choose any of your preferred design from the kit and allow it to dry. Depending on the type of design you can either place this design on the tip of the nail or in the nail bed. As for example, if you choose a design that has lacy texture then the design will look better in the tip of the nail. Printed designs like flowers and character looks better in the nail bed area. Once you have stamped the design it should be covered to protect the design. Apply a clear nail polish once the design becomes completely dry. This also renders a glossy texture to your nails. You can also apply two coats of clear nail polish to give your nail a better protection.

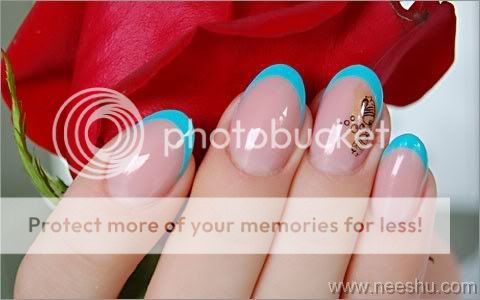
You can also decorate your nail art designs with other nail accessories to make it look more ostentatious. Gems and Rhinestones can be used to bring that extra sparkling effect to the nails. You can glue colored stones on the nails or gems with butterfly wings. You can apply another clear coat over the gems to help it to be in place.